Become an Installer

Epoxy is a versatile and durable material widely used in flooring, coatings, and adhesives. Its popularity stems from its strength, chemical resistance, and ability to create seamless, glossy finishes.
However, to use epoxy effectively, it’s essential to understand its chemistry and the stages it goes through during the curing process. This knowledge ensures proper application, optimal performance, and long-lasting results.
In this article, we’ll dive into the science behind epoxy chemistry, explore the stages of cure, and provide tips for controlling the curing process.
The Science Behind Epoxy Chemistry
Epoxy is a two-part system consisting of resin and hardener. When these components are mixed, a chemical reaction called polymerization occurs. This reaction transforms the liquid mixture into a solid, creating a strong, durable material. The process is irreversible, meaning once the epoxy cures, it cannot return to its liquid state.
The curing process is influenced by several factors, including the type of hardener, ambient temperature, and the thickness of the application. Understanding these variables is crucial for achieving the desired results.

The Three Stages of Epoxy Cure
Epoxy undergoes three distinct stages as it cures: liquid, gel, and solid. Each stage has unique characteristics and implications for the application process.
Liquid Stage (Open Time)
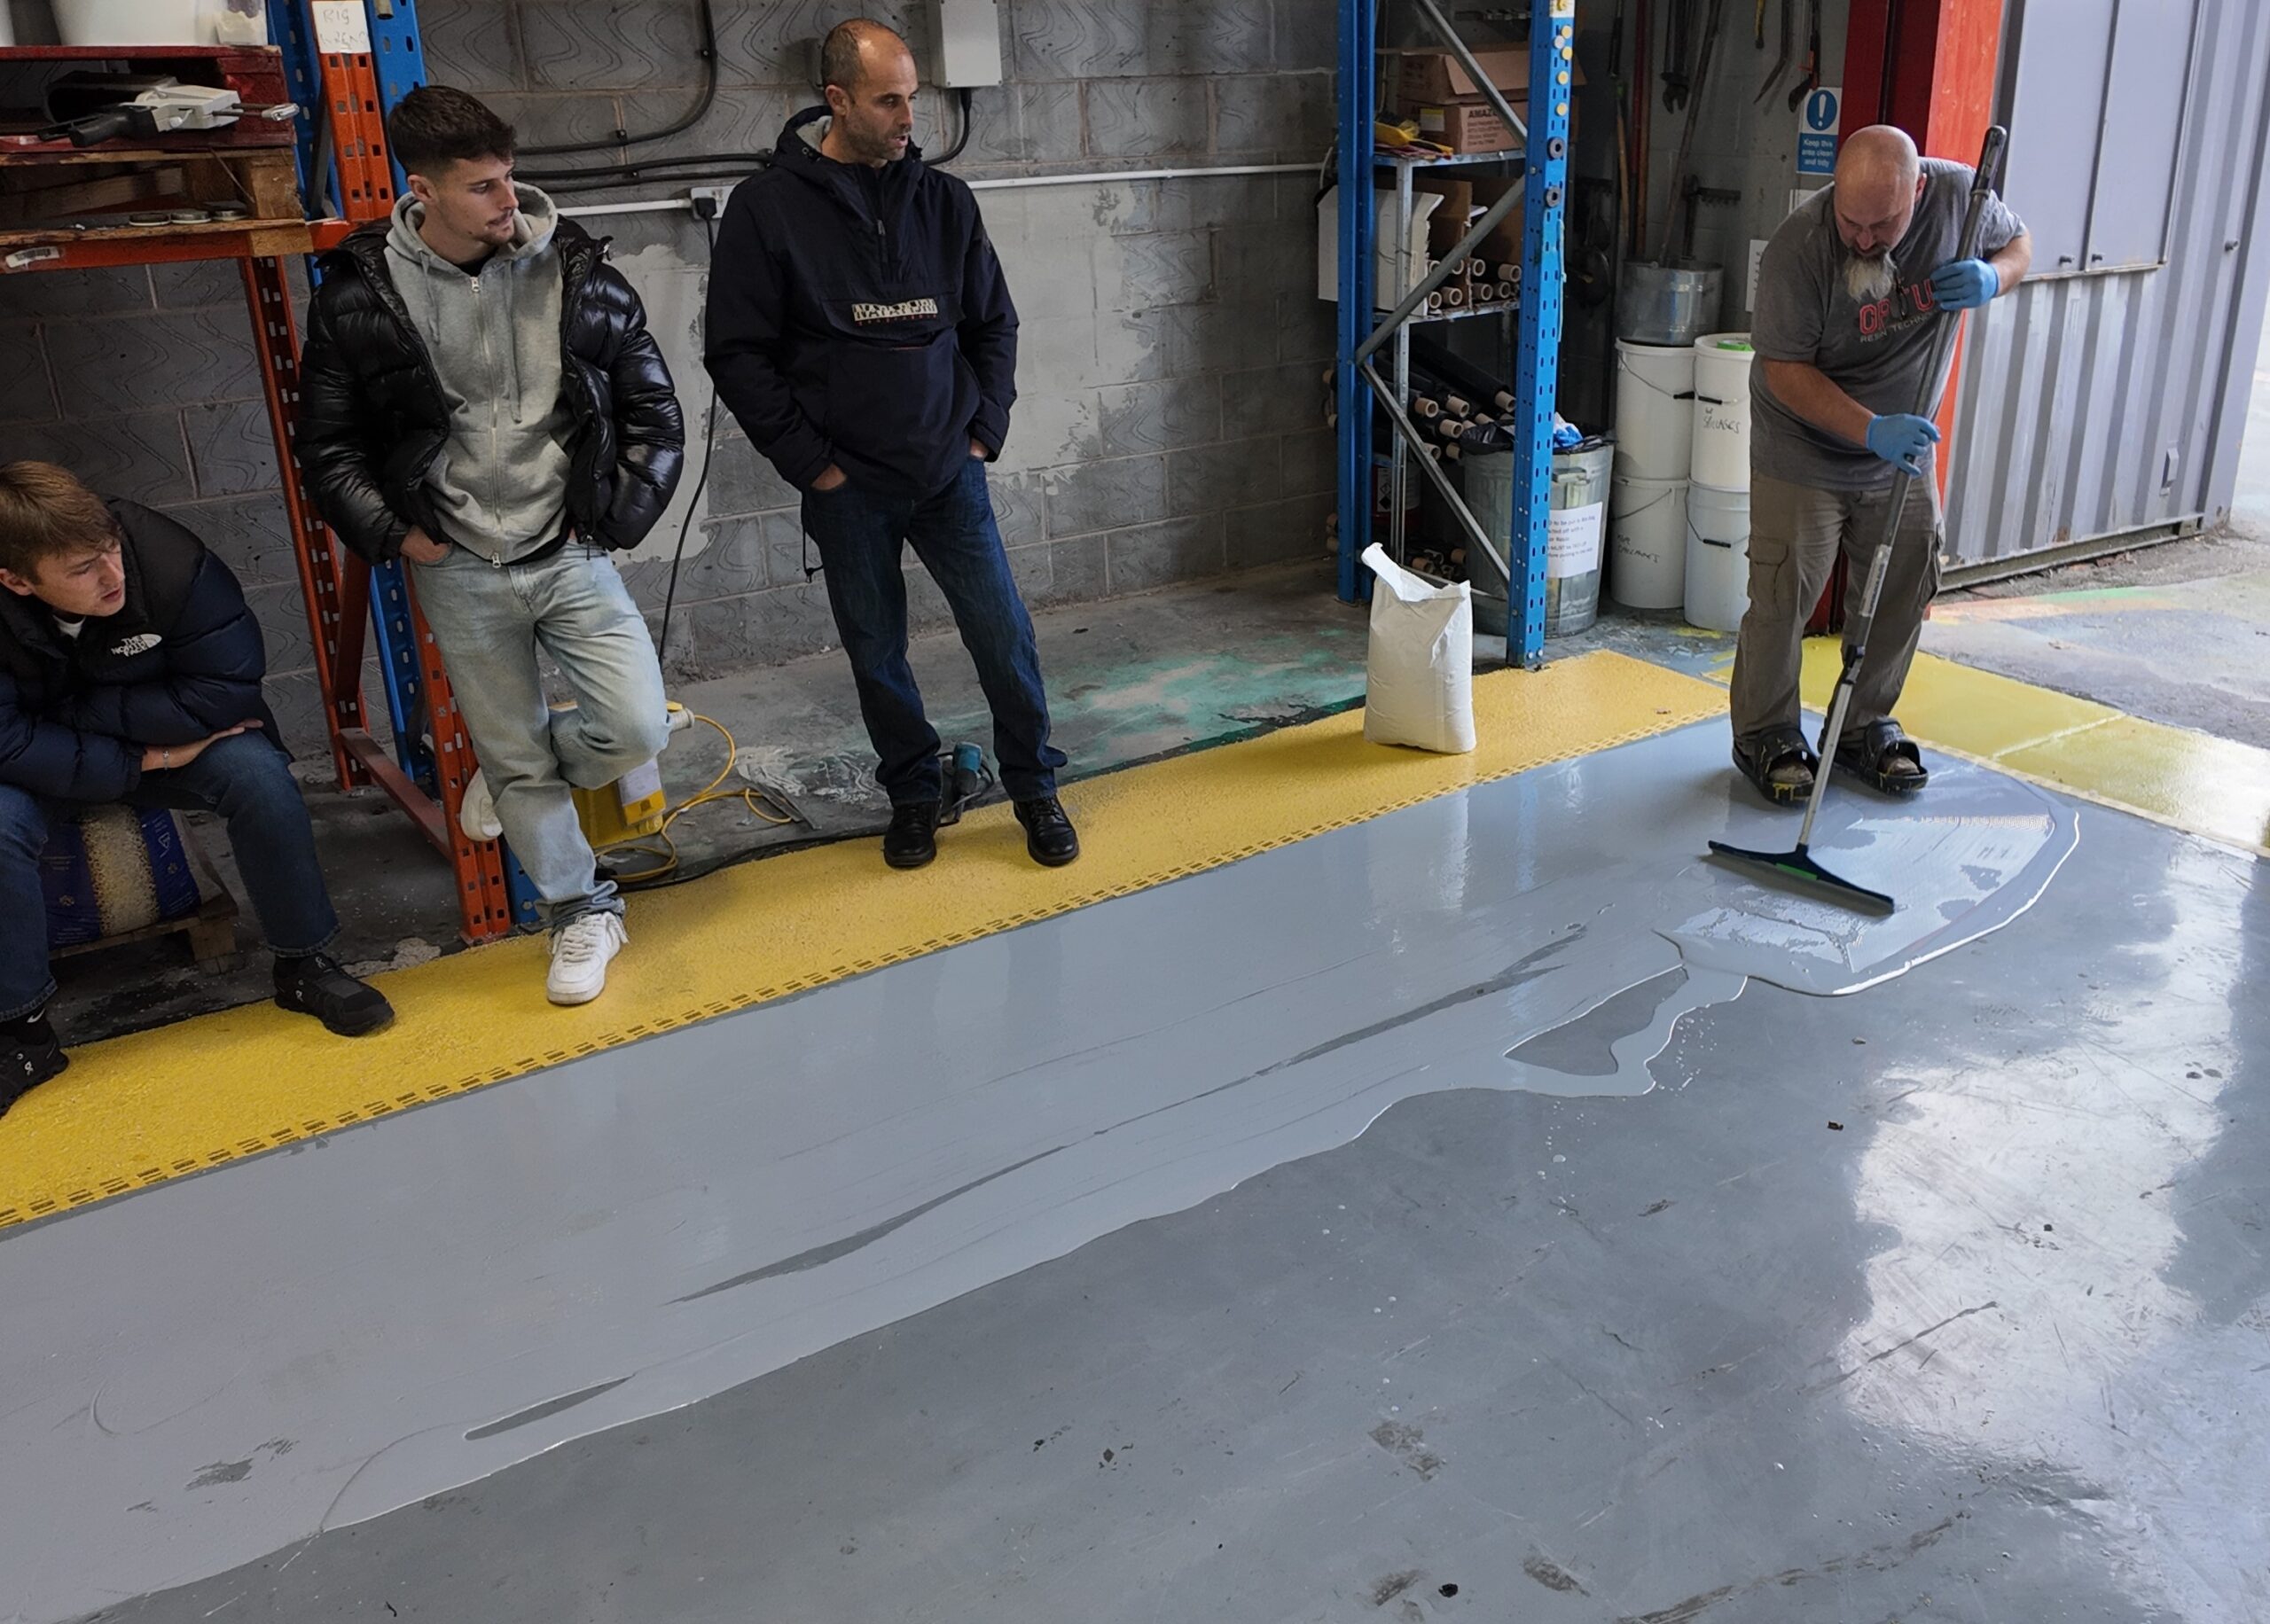
The liquid stage begins immediately after the resin and hardener are mixed. During this phase, the epoxy remains workable, allowing for application, spreading, and shaping. This period is often referred to as the “open time” or “working time.”
- Key Considerations:
- Complete all assembly, clamping, and smoothing during this stage.
- Avoid applying epoxy in environments that are too hot or cold, as extreme temperatures can shorten or extend the open time.
- Work efficiently to ensure the epoxy doesn’t begin to gel before you’ve finished applying it.
Gel Stage (Green Stage)
As the chemical reaction progresses, the epoxy enters the gel stage. At this point, the mixture becomes tacky and rubber-like, making it unsuitable for further application or manipulation.
- Key Considerations:
- The gel stage is ideal for secondary bonding, as new epoxy can still chemically bond to the partially cured surface.
- Avoid disturbing the epoxy during this phase, as it can lead to imperfections in the final finish.
Solid Stage (Full Cure)
The final stage is the solid stage, where the epoxy reaches its full strength and hardness. At this point, the material is no longer tacky and can be sanded, shaped, or subjected to stress.
- Key Considerations:
- While the epoxy may feel solid within hours, it can take several days to achieve 100% cure strength.
- Once fully cured, additional epoxy applications will require mechanical bonding (e.g., sanding) to ensure proper adhesion.
Factors Influencing Epoxy Cure Time
Several factors can affect how quickly or slowly epoxy cures. Understanding these variables allows you to control the process and achieve optimal results.
Hardener Selection
Different hardeners have varying cure speeds, ranging from fast to slow. The choice of hardener depends on the project requirements and working conditions.
- Fast Hardeners: Ideal for quick projects or cooler temperatures.
- Slow Hardeners: Better for larger projects or warmer environments, as they provide extended working time.
Ambient Temperature
Temperature plays a significant role in epoxy curing. Warmer temperatures accelerate the chemical reaction, while cooler temperatures slow it down.
- Tip: Use supplemental heat sources like heat lamps or hot air guns to speed up curing in cold environments.
Exothermic Heat
The curing process generates heat, known as exothermic heat. Thicker applications retain more heat, leading to faster curing. However, excessive heat can cause issues like bubbling or warping.
- Tip: Pour epoxy in thin layers or use larger containers to dissipate heat and extend working time.
Tips for Controlling Epoxy Cure Time

Properly managing the curing process ensures a smooth, durable finish. Here are some practical tips:
- Choose the Right Hardener: Select a hardener that matches your project’s size and environmental conditions.
- Monitor Temperature: Work within the recommended temperature range for your epoxy system.
- Mix in Small Batches: Smaller batches reduce exothermic heat buildup, giving you more control over the curing process.
- Use Supplemental Heat: Apply heat carefully to speed up curing without causing bubbles or other defects.
Safety Precautions During Epoxy Curing
Epoxy curing generates heat and fumes, so it’s essential to take safety precautions:
- Avoid mixing large quantities in confined spaces, as exothermic heat can cause burns or ignite materials.
- Use proper ventilation to minimize exposure to fumes.
- Wear protective gear, including gloves and safety glasses, to prevent skin contact.
Conclusion
Understanding epoxy chemistry and the stages of cure is fundamental to achieving successful results. By selecting the right materials, controlling environmental factors, and following best practices, you can ensure a smooth, durable finish for your epoxy projects.
Whether you’re a DIY enthusiast or a professional contractor, mastering the curing process will help you make the most of epoxy’s unique properties. With careful planning and attention to detail, you can create stunning, long-lasting surfaces that stand up to the test of time.
For premium epoxy solutions and expert advice, explore trusted industry resources and products from Optus Resin Technology designed to deliver professional-grade results.
Your next project deserves the best—start with a solid understanding of epoxy chemistry!


